
Wie Sie das richtige Bewertungsportal auswählen.
Wichtige Kriterien und Fragen, die bei der Auswahl einer Plattform für verbrauchererstellte Inhalte zu beachten sind.
Verbraucher nutzen die authentischen Bewertungen anderer Kunden (User Generated Content, UGC), um fundierte Kaufentscheidungen zu treffen. Mit unseren Lösungen stellen Sie visuelle und soziale Inhalte Ihrer Kunden weltweit bereit. Wie motivieren Sie Kunden zum Kauf? Ganz einfach: durch authentische und glaubhafte Bewertungen und Beurteilungen, Fragen & Antworten von Kunden über Ihre Produkte und insbesondere durch visuelle und soziale Inhalte.
Unsere Lösungen greifen an allen Punkten der Customer Journey. Wir bringen Ihre Produkte an den Kunden: Ob im Einzelhandel, in den sozialen Medien, online oder im Laden – über eine Milliarde Käufer erstellen und teilen jeden Monat im Bazaarvoice Network mit rund 11.500 weltweit führenden Markenunternehmen und Einzelhändlern authentische Inhalte über Ihre Produkte. Mehr Chancen. Mehr Wege. Mehr Wirkung.
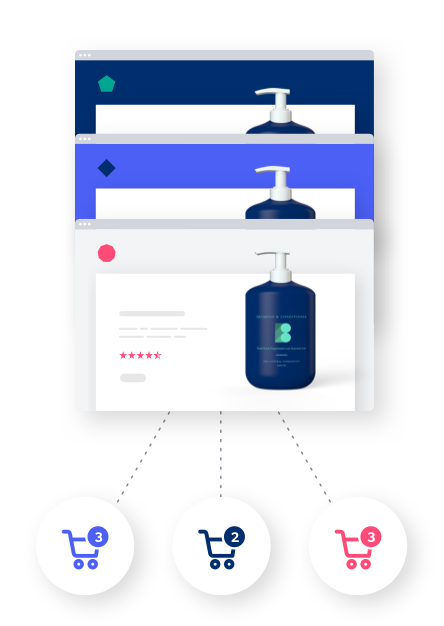


Authentische Meinungen, Fotos und Videos Ihrer Kunden sind der Hebel für mehr Umsatz. Wir stellen kuratierte Bewertungen und Beurteilungen auf Ihre Website und auf alle Händlerplattformen. Kundenvertrauen, Konversionsrate und Besucherzahlen schnellen nach oben. Und Sie können sich zurücklehnen.
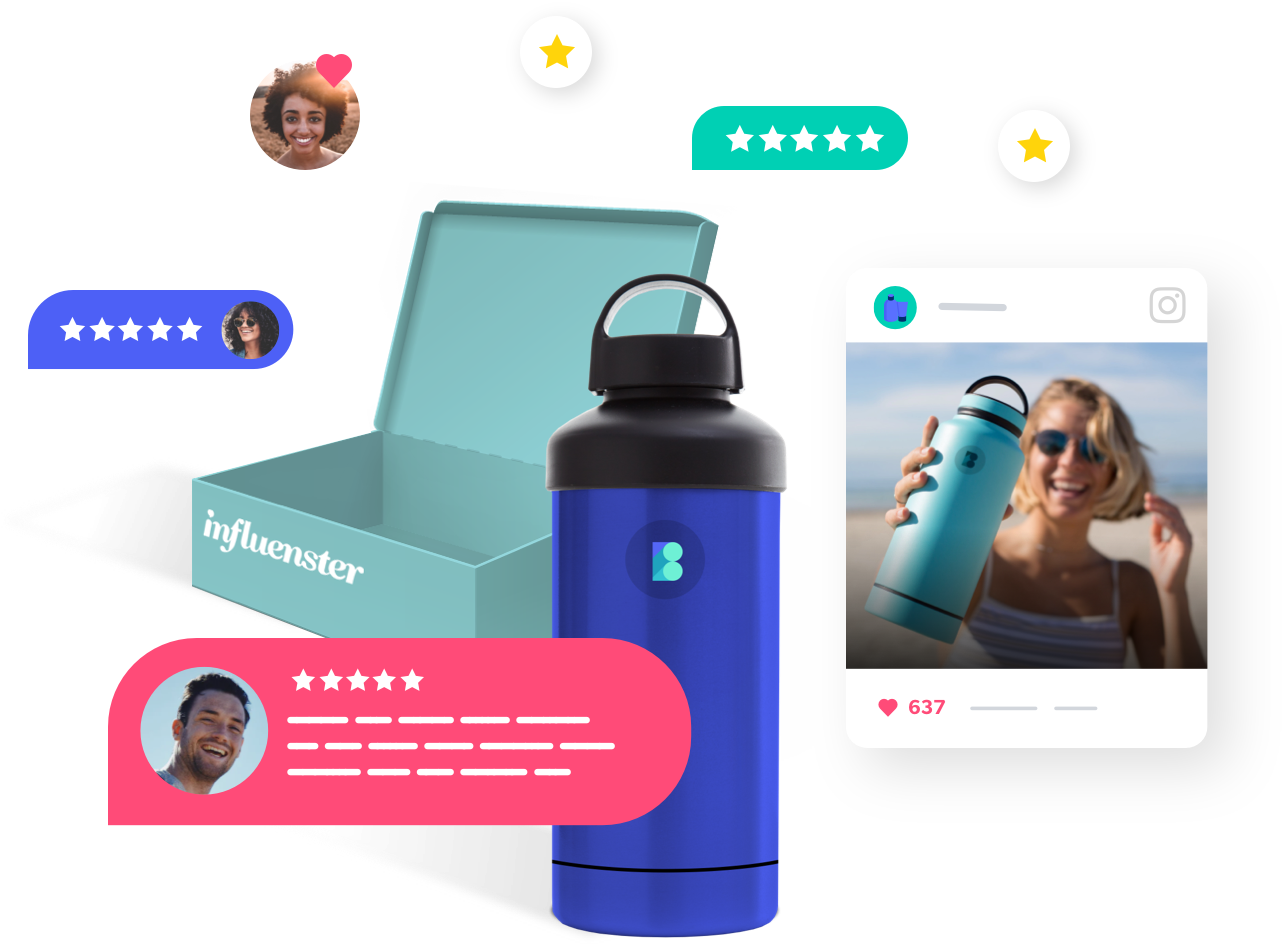
Inspirieren Sie Verbraucher mit sozialen und visuellen Inhalten. Von der Entdeckung eines Produkts bis zum Kauf. Wie nutzen Kunden Ihre Produkte eigentlich? Das erfahren Sie am besten aus den visuellen Inhalten Ihrer Kunden. Sorgen Sie für zufriedene Kunden. Steigern Sie Ihre Konversionsraten. Ihre Kunden bringen Sie vielleicht sogar auf neue Produktideen.

Sammeln Sie nutzergenerierte Inhalte, um eine erfolgreiche Produkteinführung zu gewährleisten. Bieten Sie unseren Mitgliedern Produktmuster an. Unsere Community testet die Produkte und erstellt fesselnde Inhalte, die Sie auf Ihre eigenen Produktseiten und die Plattformen der Händler stellen können.
Wichtige Kriterien und Fragen, die bei der Auswahl einer Plattform für verbrauchererstellte Inhalte zu beachten sind.

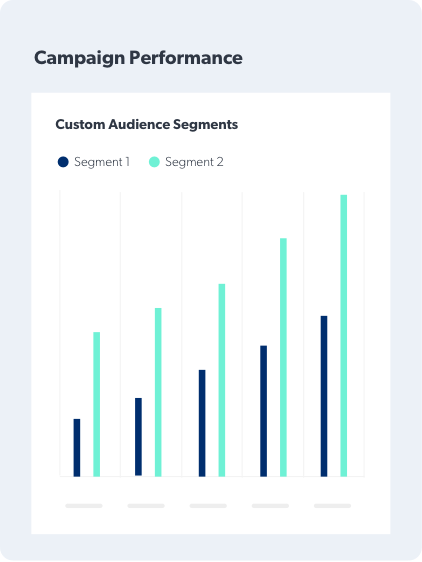
Immer mehr potenzielle Käufer verlassen sich auf Onlinebewertungen. Das Feedback anderer Kunden entscheidet, wo Verbraucher einkaufen. Entwickeln Sie daher am besten sofort eine Strategie zum Bündeln von Bewertungen.

Wir zeigen Ihnen, wie Sie Ihre Kundenbeziehung aufbauen und erkennen, was Kunden am wichtigsten ist.
Melden Sie sich bei uns. Wir zeigen Ihnen die effizientesten Lösungen für Ihr Unternehmen. Unser Vertriebsteam beantwortet Ihre Fragen und bespricht sämtliche Schritte – von Anfang bis Ende.
Holen Sie sich hier eine Demoversion